
Setup On-Call Schedules
On-call schedules define who is responsible for responding to alerts and when. OpsFusion makes it easy to create flexible rotation schedules that work for your team.
Rotation Types
Section titled “Rotation Types”OpsFusion supports four rotation types:
- Daily - Rotations change every N days
- Weekly - Rotations change every N weeks
- Hourly - Rotations change every N hours (1-23 hours)
- Custom - Define coverage for specific days and time ranges for full scheduling flexibility
You can combine multiple rotations with different coverage hours to create complex schedules like follow-the-sun coverage.
Step 1: Navigate to Team Schedule
Section titled “Step 1: Navigate to Team Schedule”- Go to the Teams page
- Click on the team you want to create a schedule for
- Click the Schedule tile

Step 2: Create a New Rotation
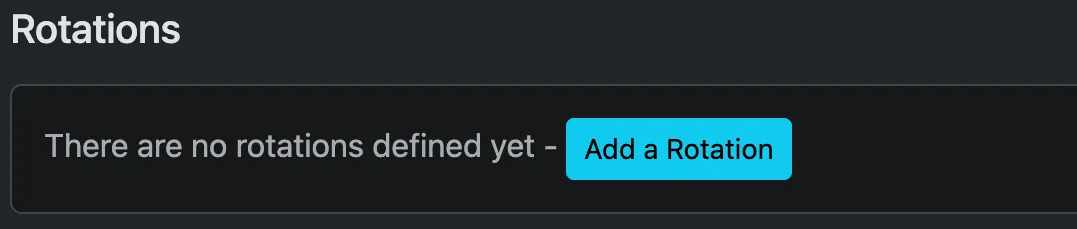
Section titled “Step 2: Create a New Rotation”Click the Add Rotation button.
Step 3: Configure the Rotation Order
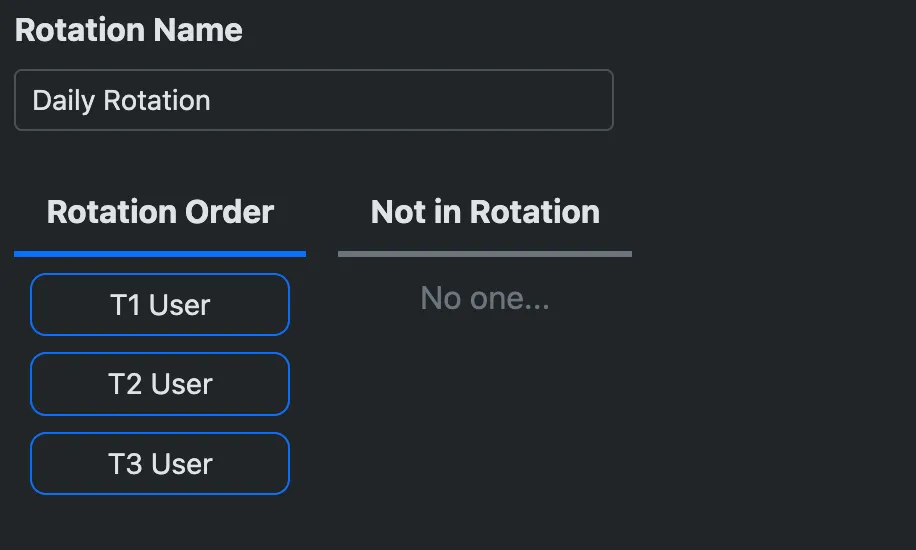
Section titled “Step 3: Configure the Rotation Order”Set up the basic information for your rotation and define the order in which team members will take on-call shifts:
- Rotation Name - Give your rotation a descriptive name
- Rotation Order - Arrange team members in the sequence they’ll rotate through. The system automatically cycles through this list, moving to the next person based on your rotation frequency.
Step 4: Define the Rotation Pattern
Section titled “Step 4: Define the Rotation Pattern”Choose your rotation type and configure the pattern:
- Rotation Type - Select the rotation type: Daily (every N days), Weekly (every N weeks), Hourly (1-23 hours), or Custom
- Rotates Every - Specify the interval for rotation changes (e.g., “2” for every 2 weeks, “8” for every 8 hours)
- Rotation Start - Set the date and time when this rotation begins. The first person in your rotation order will be on-call at this time.
- Rotation Active Period Type - Choose when this rotation is active: 24/7, Specific time range, or Custom
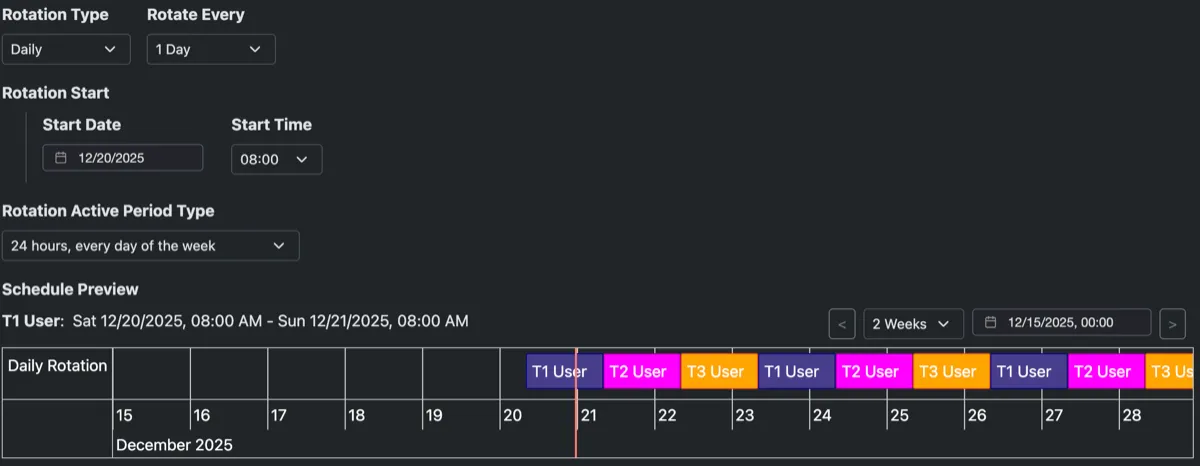
Daily Rotation
Section titled “Daily Rotation”Rotate daily at 8am (24/7 coverage)
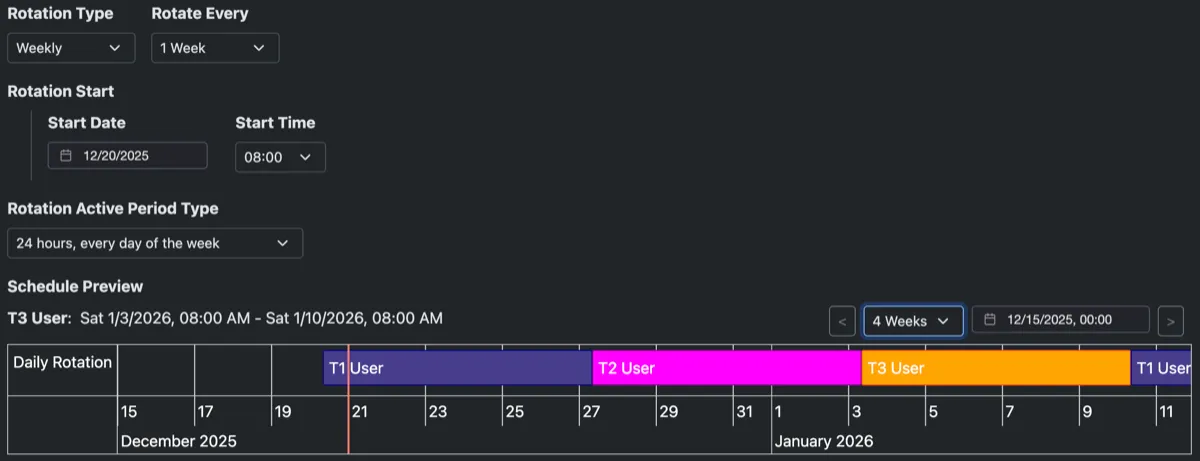
Weekly Rotation
Section titled “Weekly Rotation”Rotate weekly at 8am (24/7 coverage)
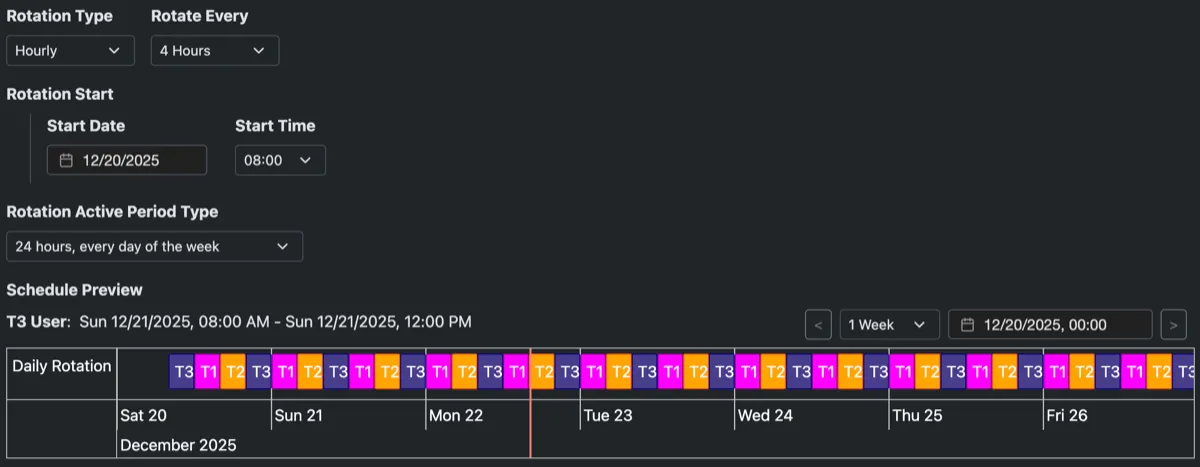
Hourly Rotation
Section titled “Hourly Rotation”Rotate every 4 hours (24/7 coverage)
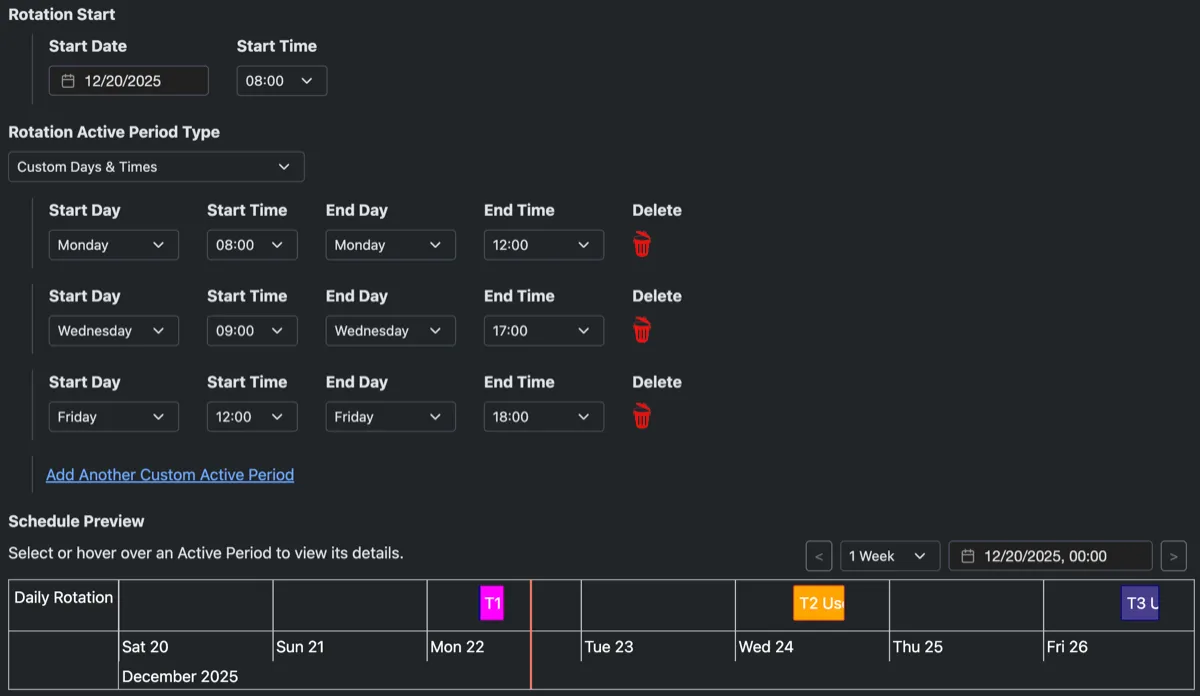
Custom Rotation
Section titled “Custom Rotation”Custom rotations give you full flexibility to define coverage for specific days and time ranges. Perfect for business hours coverage, weekend-only rotations, or complex follow-the-sun schedules across time zones.
Step 5: Review and Create
Section titled “Step 5: Review and Create”Before finalizing:
- Review the schedule preview
- Verify that rotation times are correct
- Check that all intended team members are included
- Click the Add Rotation button
Step 6: Add an Escalation Policy
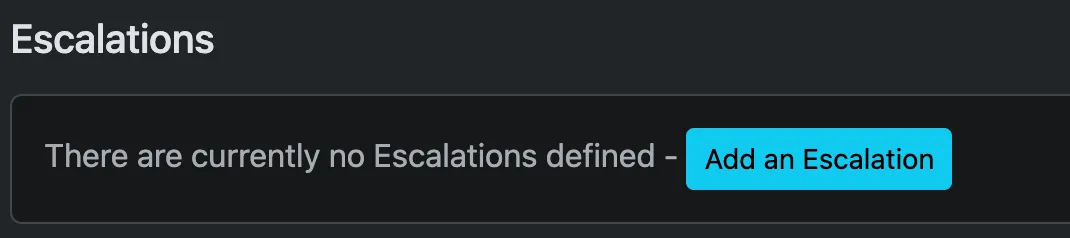
Section titled “Step 6: Add an Escalation Policy”Escalation policies automatically route unacknowledged alerts to additional team members, ensuring critical issues receive timely attention. Click the Add an Escalation button to configure your policy.
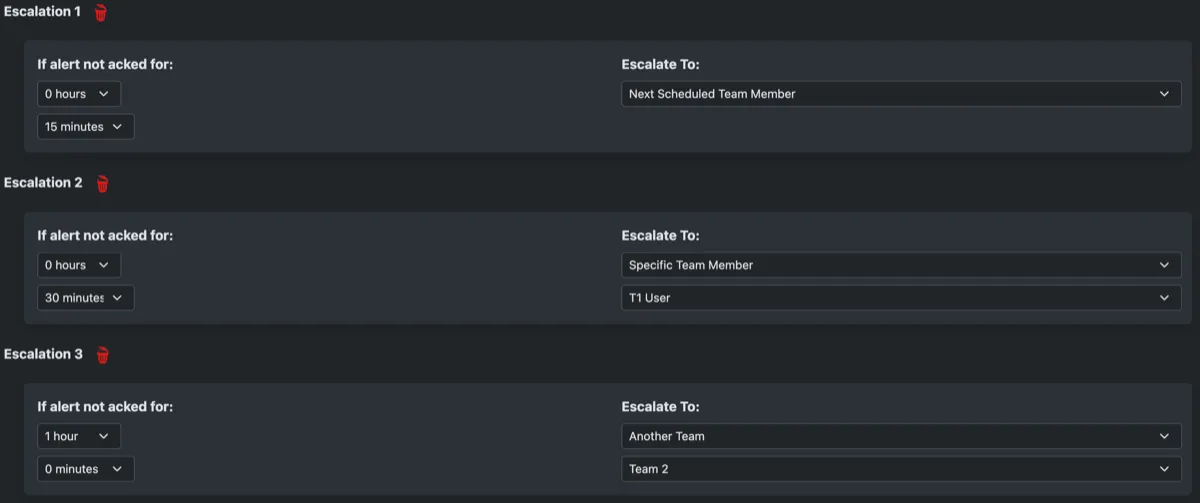
Configure your escalation:
- If alert not acked for - Set the time window before escalating (e.g., 15 minutes, 30 minutes, 1 hour)
- Escalate To - Choose who receives the escalated alert:
- Specific Team Member - Escalate to a designated person on your team
- Random Team Member - Distribute to any available team member randomly
- Previous Scheduled Team Member - Send to whoever was on-call before the current person
- Next Scheduled Team Member - Forward to the next person in the rotation order
- All Team Members - Alert everyone on the team simultaneously
- Another Team - Route to a different team entirely (useful for cross-team escalations)
- Click + Another to add multiple escalation levels
- Click Save Escalations to finalize your policy
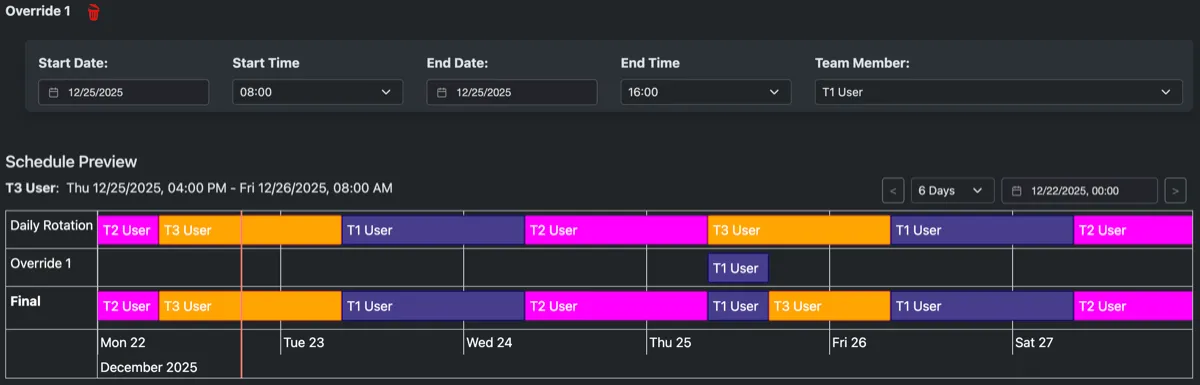
Step 7: Override an On-Call Assignment
Section titled “Step 7: Override an On-Call Assignment”Override assignments allow you to temporarily change who’s on-call for specific time periods without modifying the underlying rotation schedule.
- Click the Overrides button
- Set the Start Date and Start Time for when the override begins
- Set the End Date and End Time for when the override ends
- Select the Team Member who will provide coverage during this period
- Click Save Overrides to confirm
What’s Next?
Section titled “What’s Next?”With your on-call schedules configured, complete your OpsFusion setup:
- Setup Notifications - Ensure team members have added phone numbers and notification preferences
- Create API keys - Generate API keys for sending alerts
- Send Test Alert - Verify alert reaches the on-call person
Troubleshooting
Section titled “Troubleshooting”Member not appearing in rotation?
- Ensure they are added to the team
- Verify they have the correct team role permissions
Override not taking effect?
- Check that the override time range is correct
- Ensure the override wasn’t accidentally deleted